(This post originally appeared on the Audiokinetic Blog)
The spatial acoustics of NieR:Automata, and how we used Wwise to support various forms of gameplay- Part 1
NieR:Automata is an action role-playing game (RPG) taking place on a wasteland that is earth, after extraterrestrial invaders have pushed mankind into exile on the moon. It depicts the war raging between androids which humans created to take back their planet, and machine lifeforms made by the extraterrestrials.
In addition to a third-person camera behind the player, camera angles switch between a top view and various side views. The gameplay can also change into sound novel games and shooting games, and the variety in gameplay is characteristic of this title.
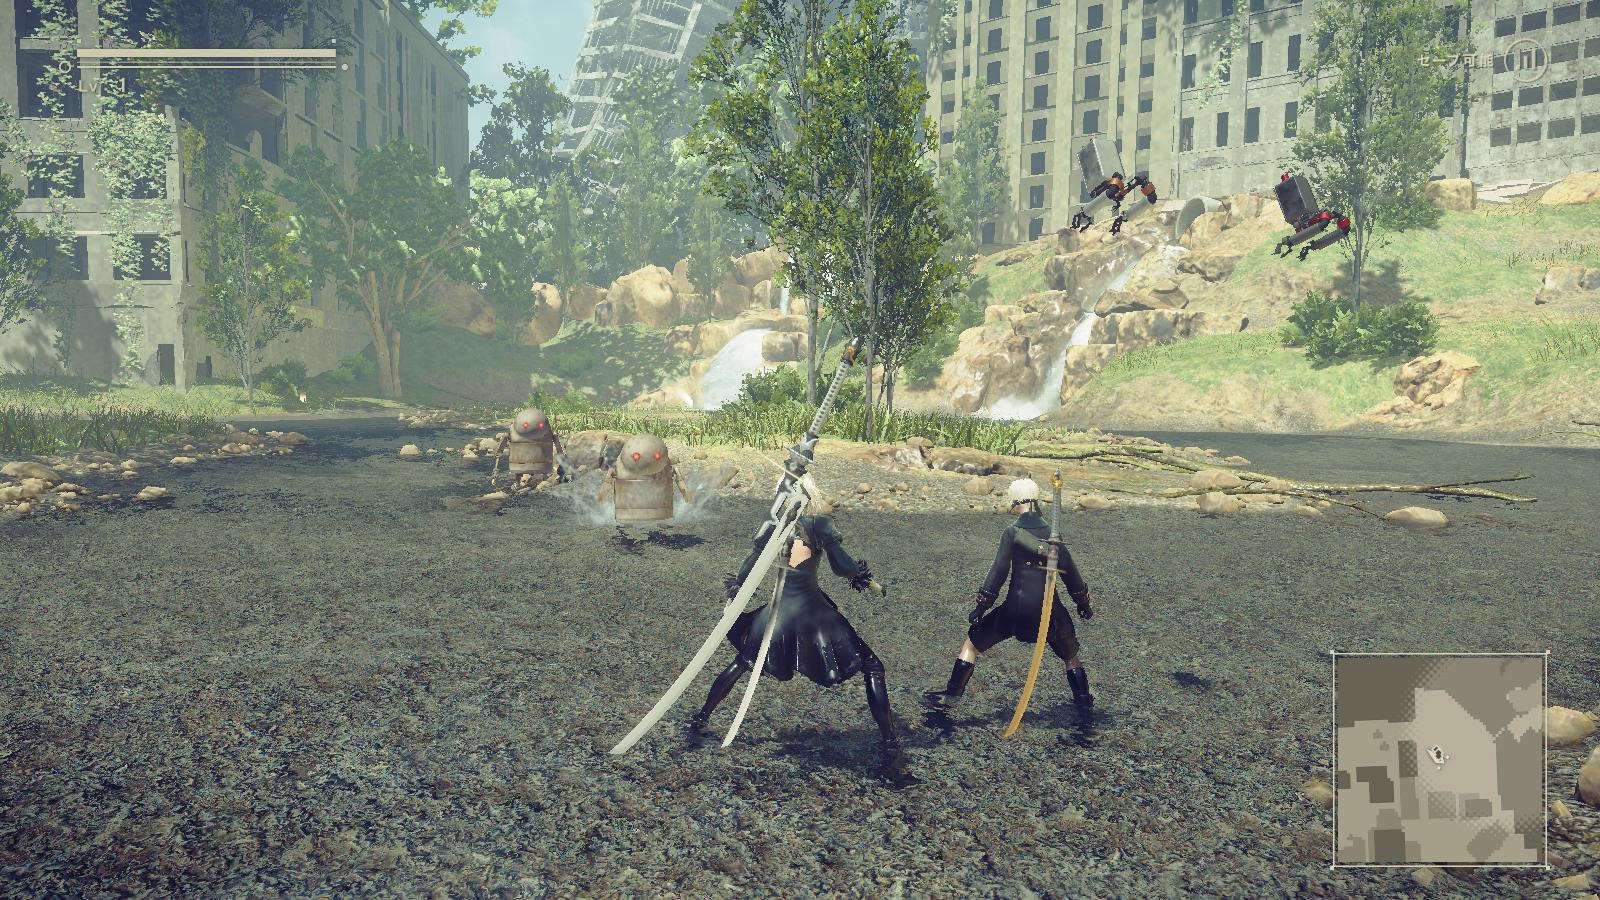
The production team first started working on the wasted planet, the stage for this story. It was a challenge to illustrate the contrast between the wasteland, with depleted high-rise buildings devoid of humans, and the abundance of plants growing in the great outdoors. Additionally, the sound team focused on creating an immersive environment that would let players stop in their tracks to enjoy their surroundings.
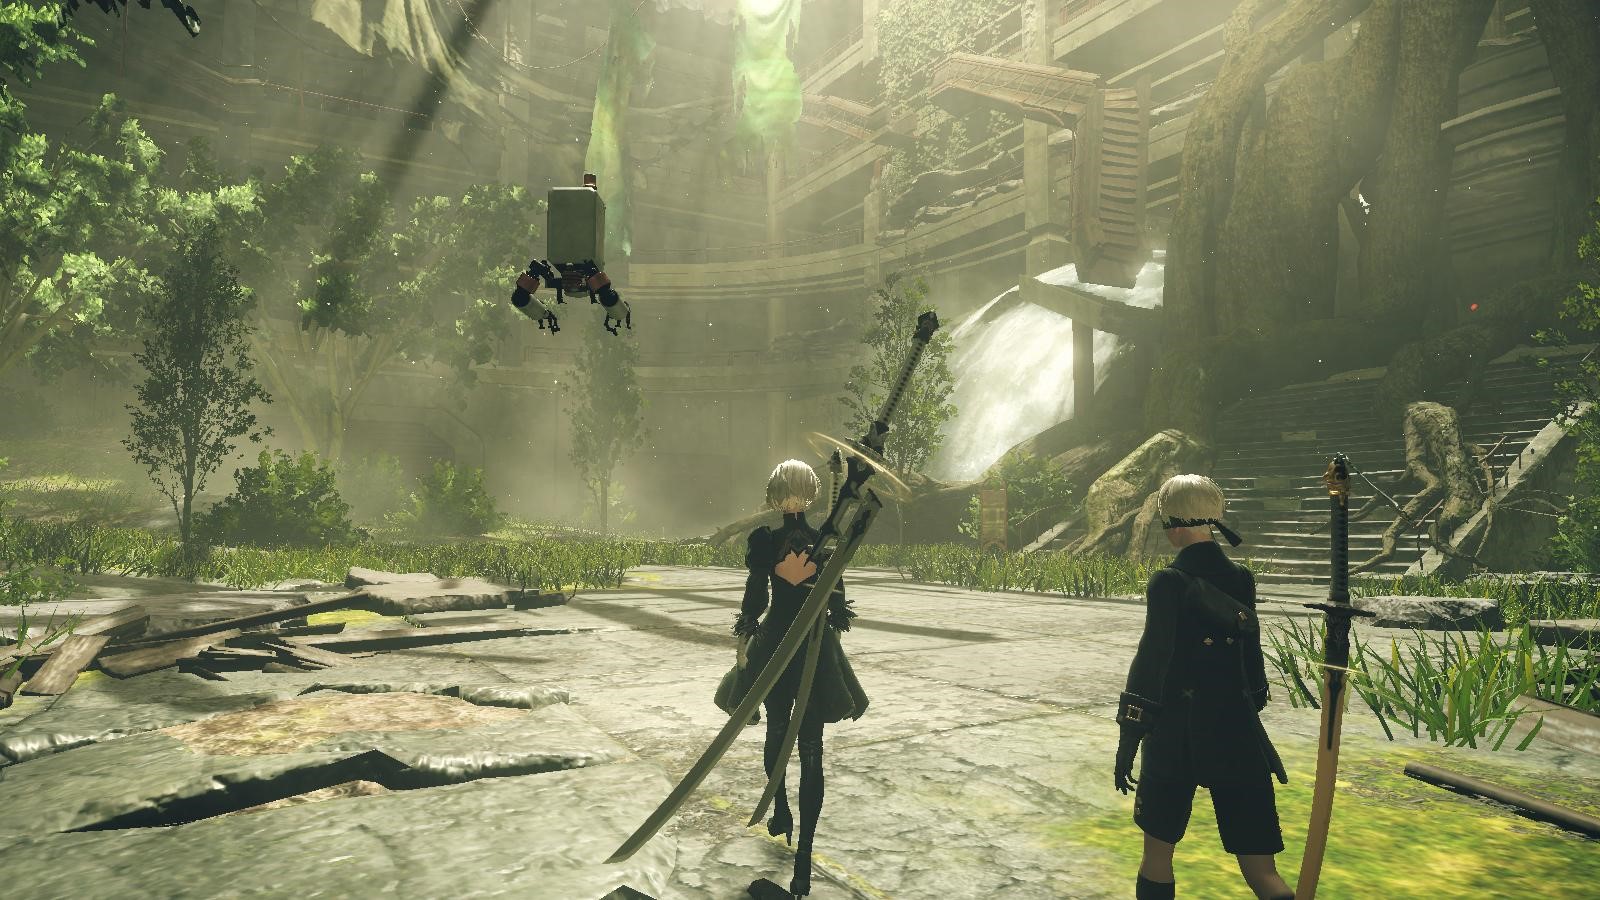
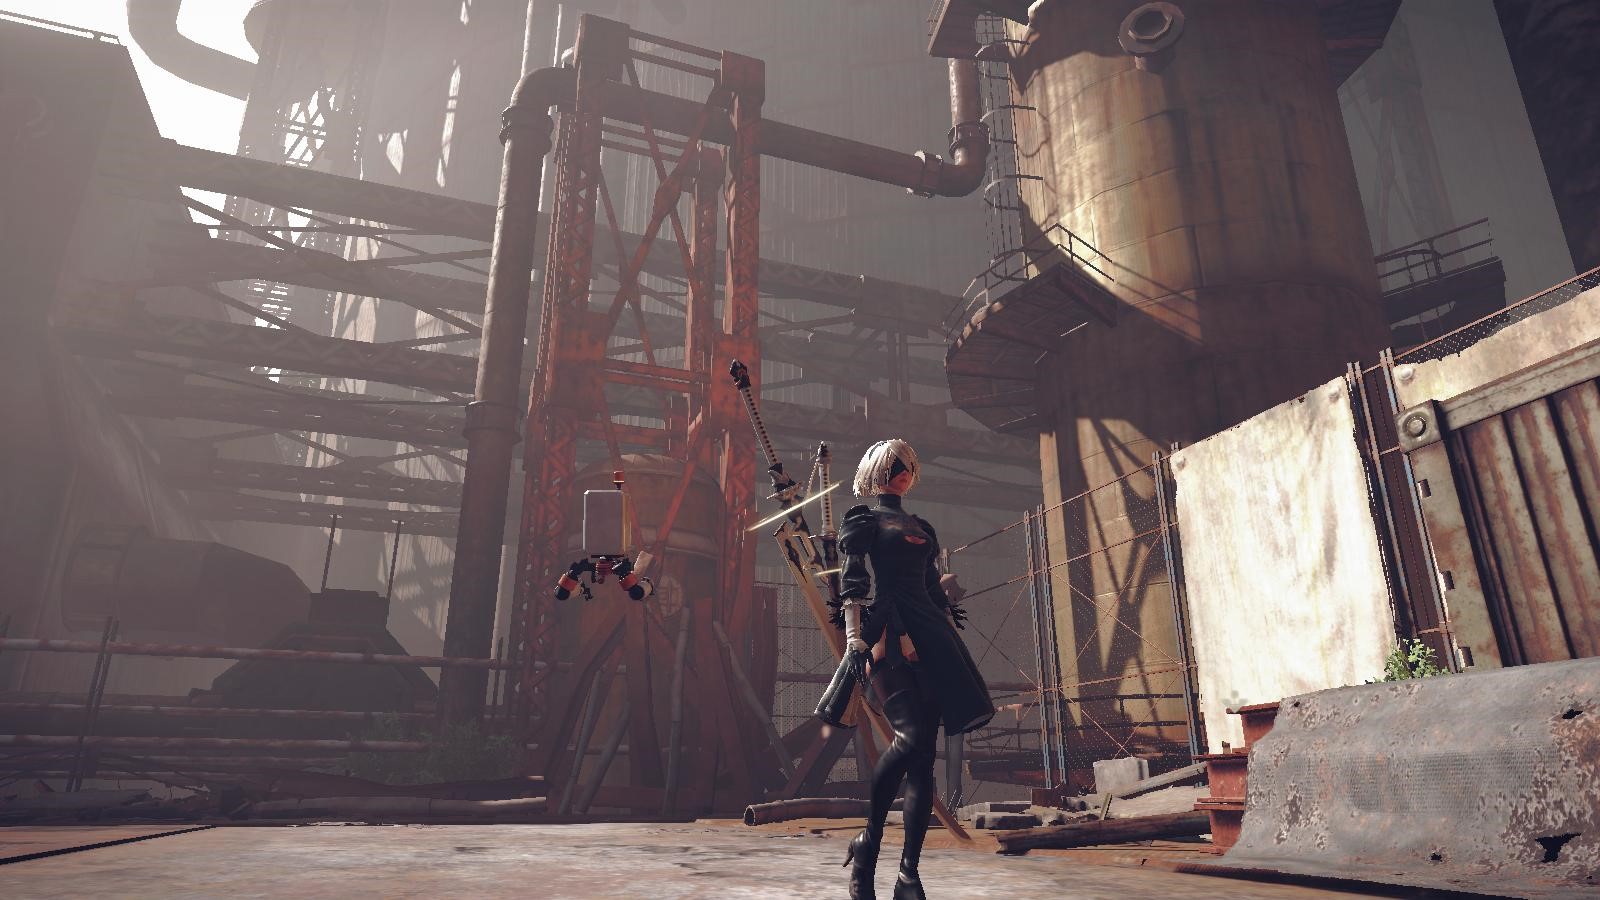
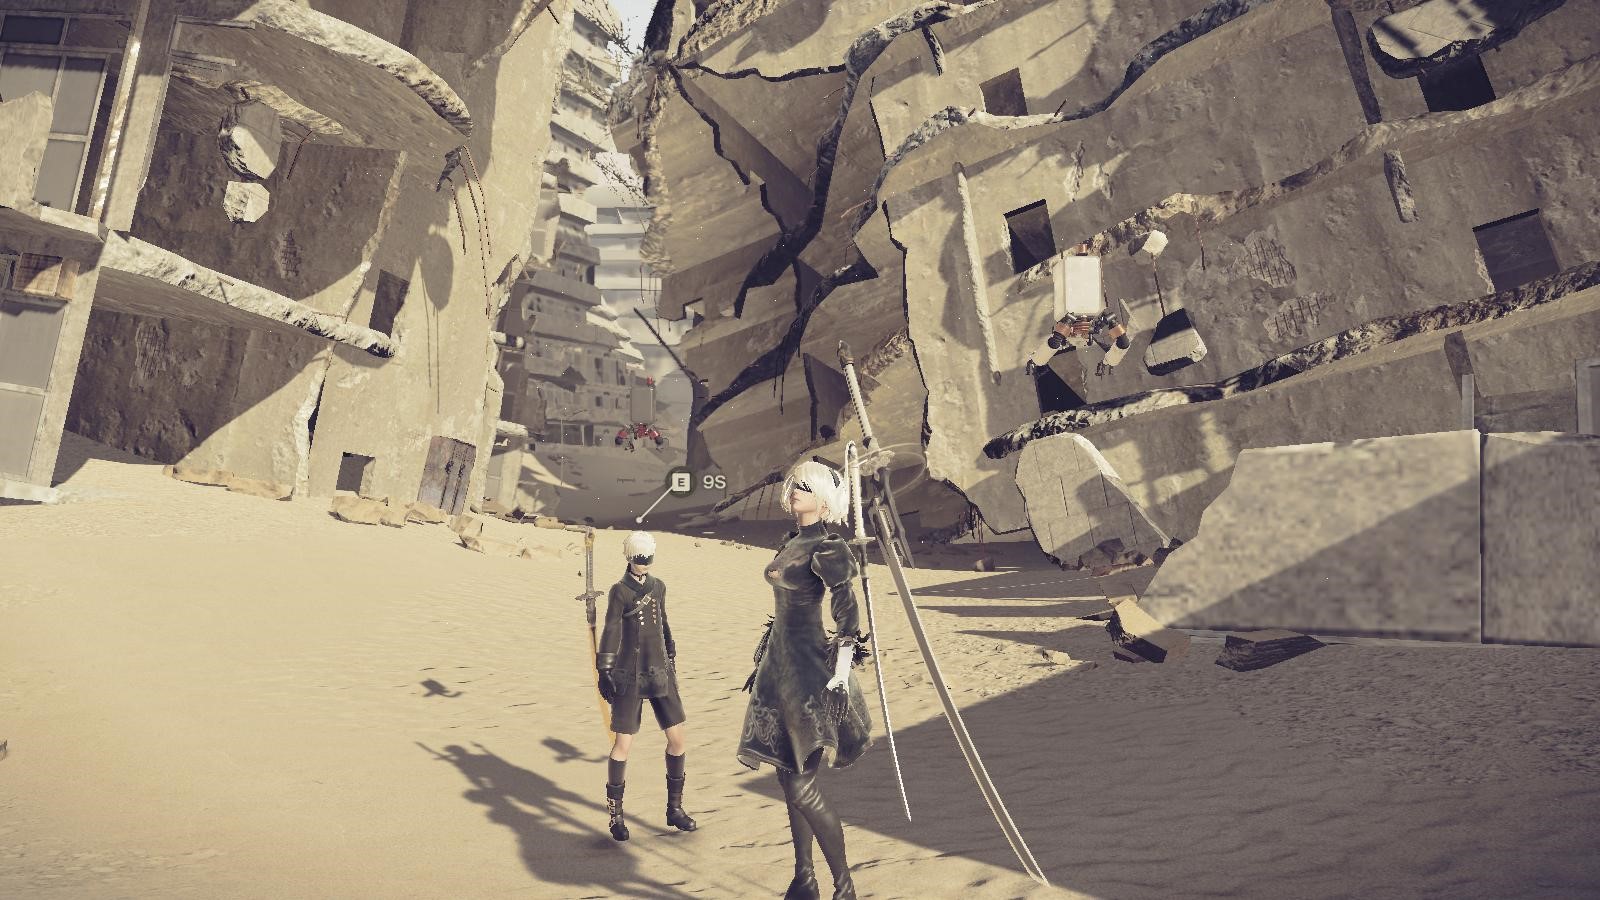
In the action scenes, the audio needed to reflect the changing camera angle, as shown here in some screenshots, and we also had to limit the amount of sounds coming from so many objects placed throughout the scenes.
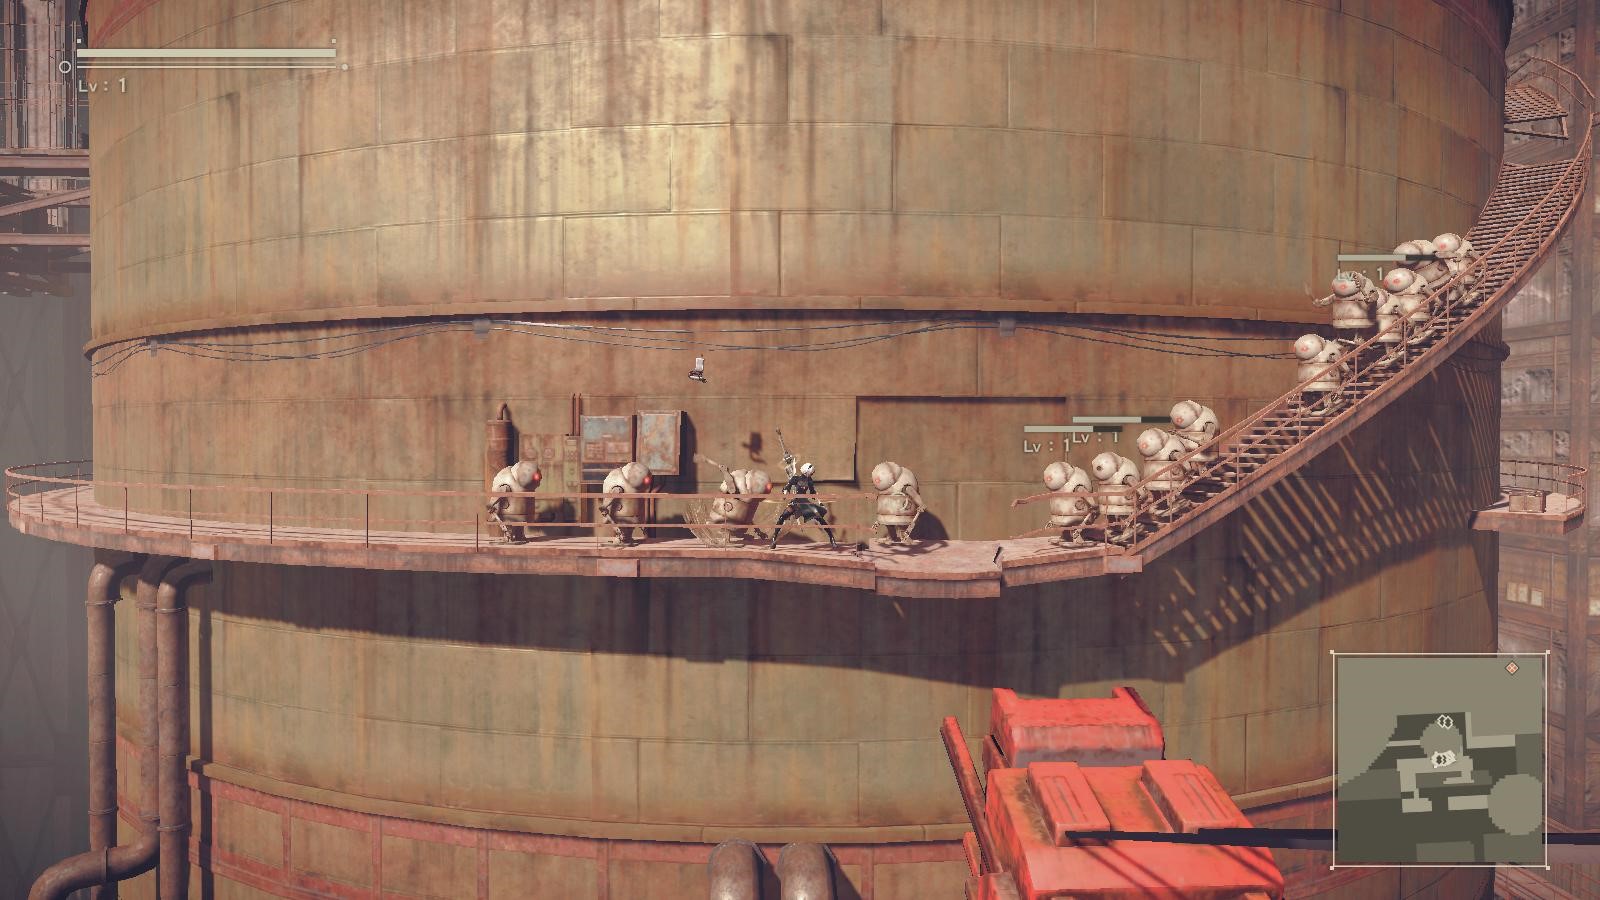 A side view
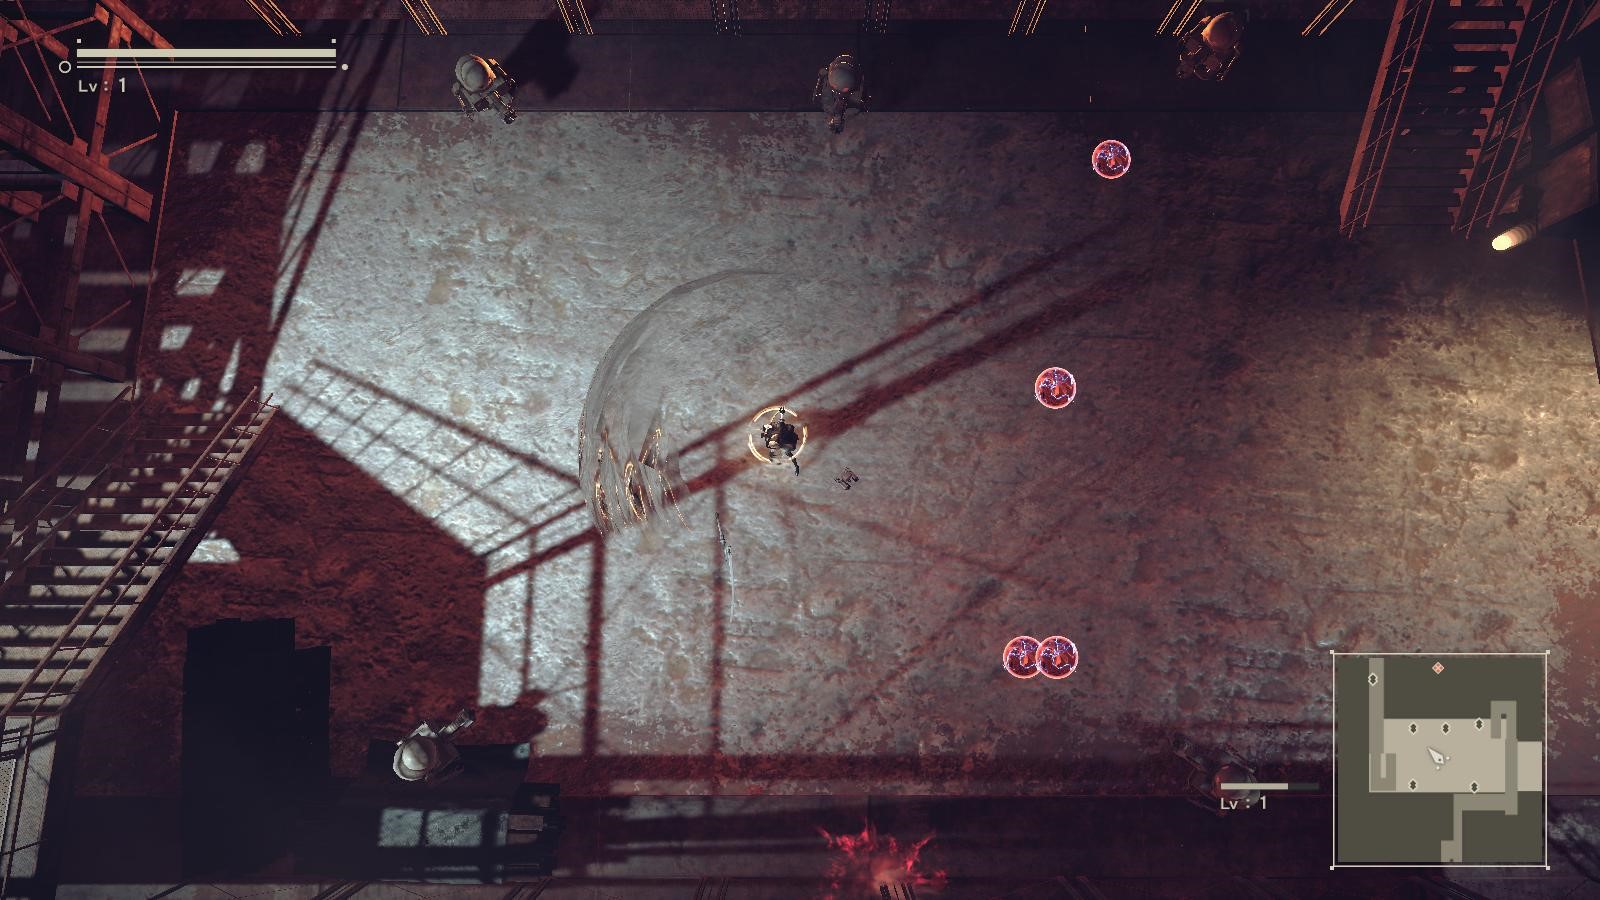 The top view
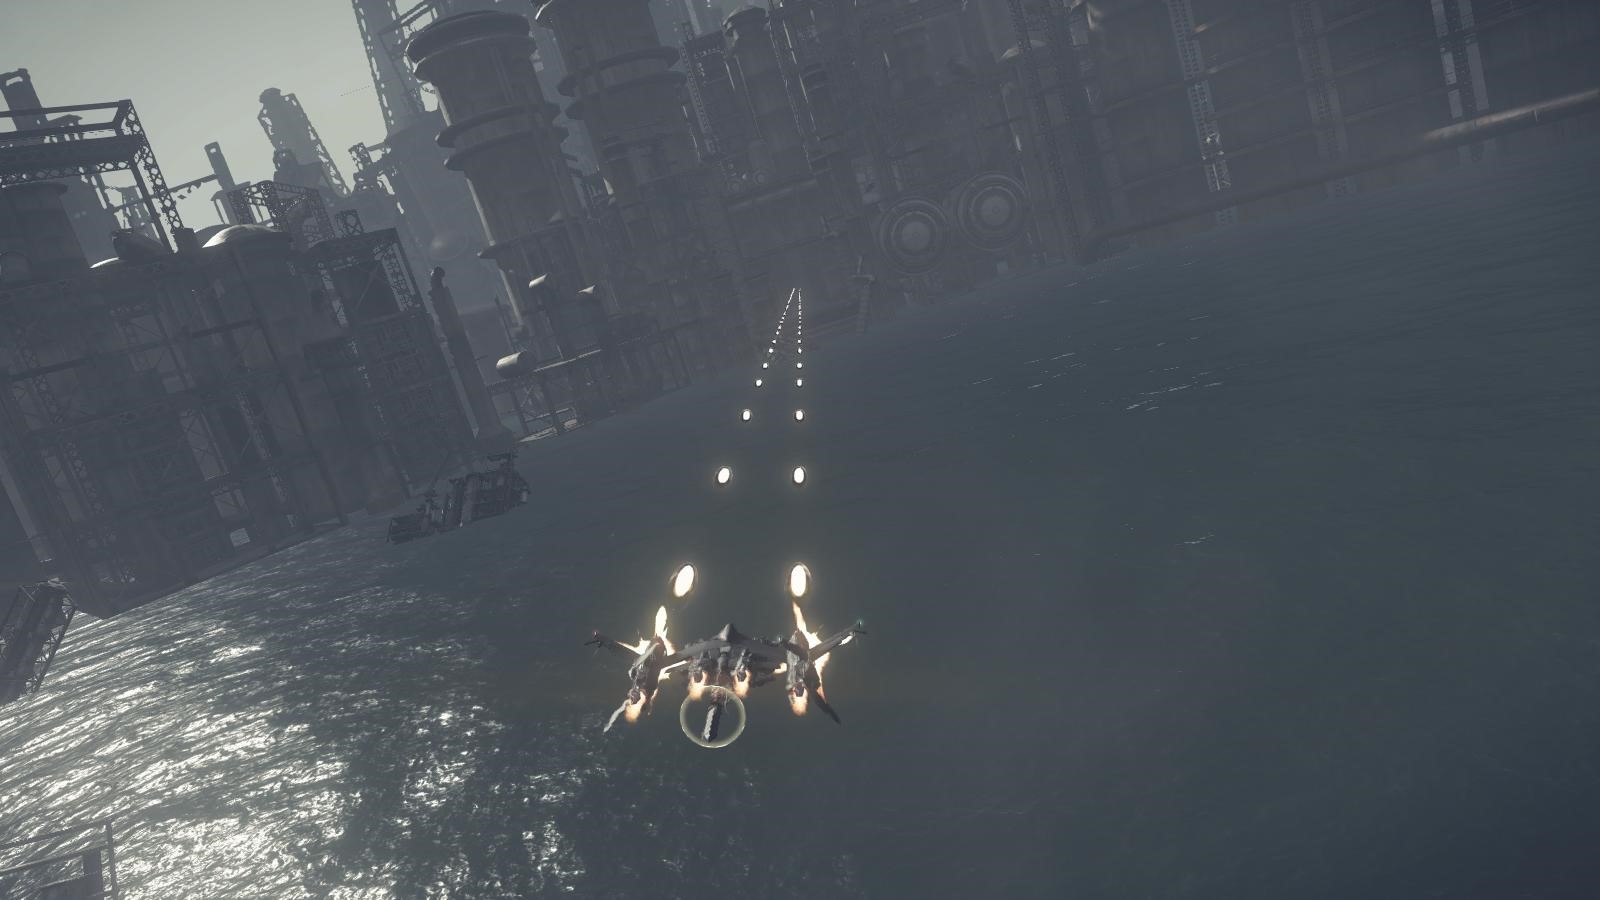 Shooting view
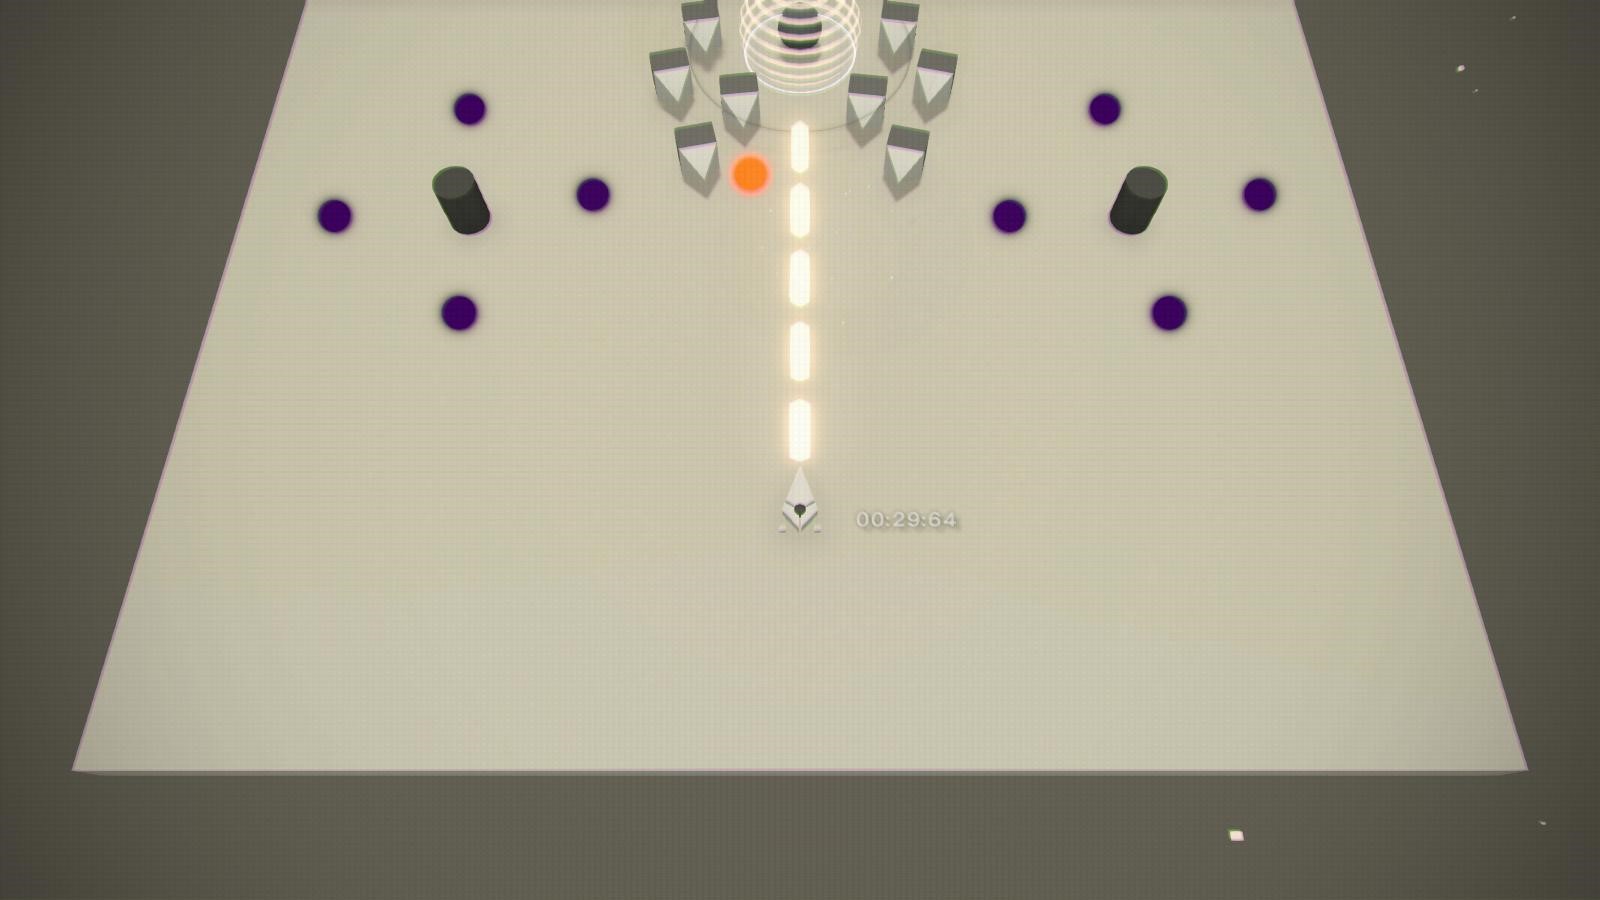 Hacking game view
Now, let us explain how the audio team integrated Wwise into the game, step by step.
Using spatial audio techniques to enhance immersion
Spatial audio techniques used in this project include reverb, occlusion, and 3D audio effects. They are to audio what shading is to graphics, and they make the audio more realistic in order to increase immersiveness and create surround effects. They also give the atmosphere a common feeling, helping to blend the sounds together.
First, let us introduce our 3D audio effects and interactive reverb system, which were based on a new approach that we developed for this project.
1. 3D audio effects
For 3D audio, we started out with the idea of creating effects that do not depend on the playback environment. NieR:Automata is not a VR game nor one that recommends headphone use, so we needed to be able to express spatial depth through a normal stereo speaker setup. We were also careful not to damage the original sound, to facilitate the sound designing work.
It was especially important to play back sounds coming from the front exactly as they were designed, for the balancing process. However, we wanted to be able to apply effects to most of the sounds, and it was important to keep the processing costs low. If we apply sound effects on only a few sounds, then the player cannot experience the feeling of being surrounded by sounds in a 3D environment.
Our in-house sound designers and sound programmers discussed these ideas many times to create a shared concept.
Simple3D Plug-in
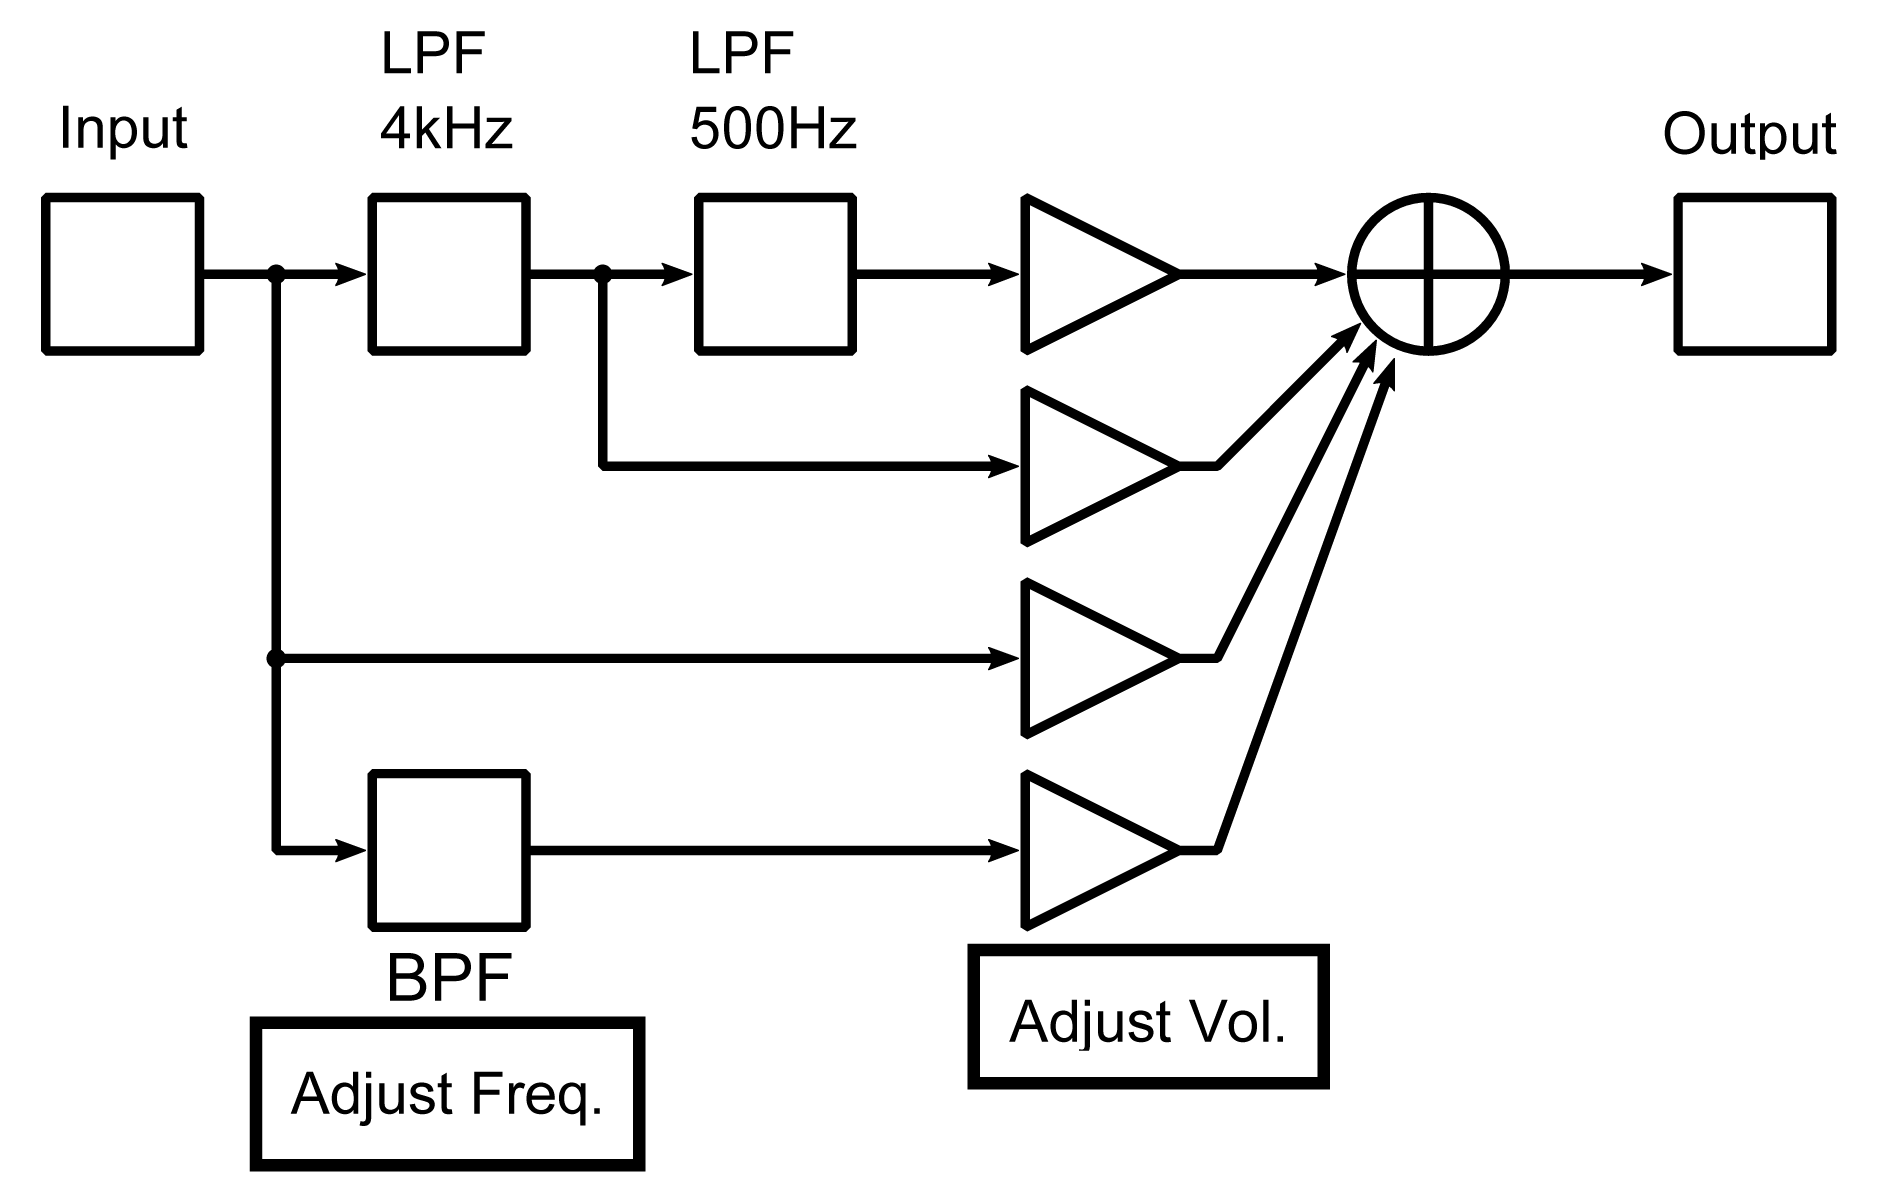
Based on our shared concept, we integrated the “Simple3D Plug-in” audio effect to our game. This is the digital signal processing (DSP) diagram of Simple3D.
 Simple3D DSP Diagram
As its name implies, it has a very simple processing structure. Depending on the angle from the listener to the sound source, the volume and band pass filter parameters are changed for each route, to generate a feeling of direction.
Of the three routes shown above, the first goes through both 4kHz and 500Hz LPF, the second goes through the 4kHz LPF only, and the third passes the input signal as-is, and by changing the volume ratios, you can increase or decrease the high and low frequencies.
The bottom route is for when the sound source goes behind, and for other times where the frequency changes, and we settled on this band pass filter that allows frequency changes, after searching for elements that would be effective besides raising and lowering the high and low frequencies.
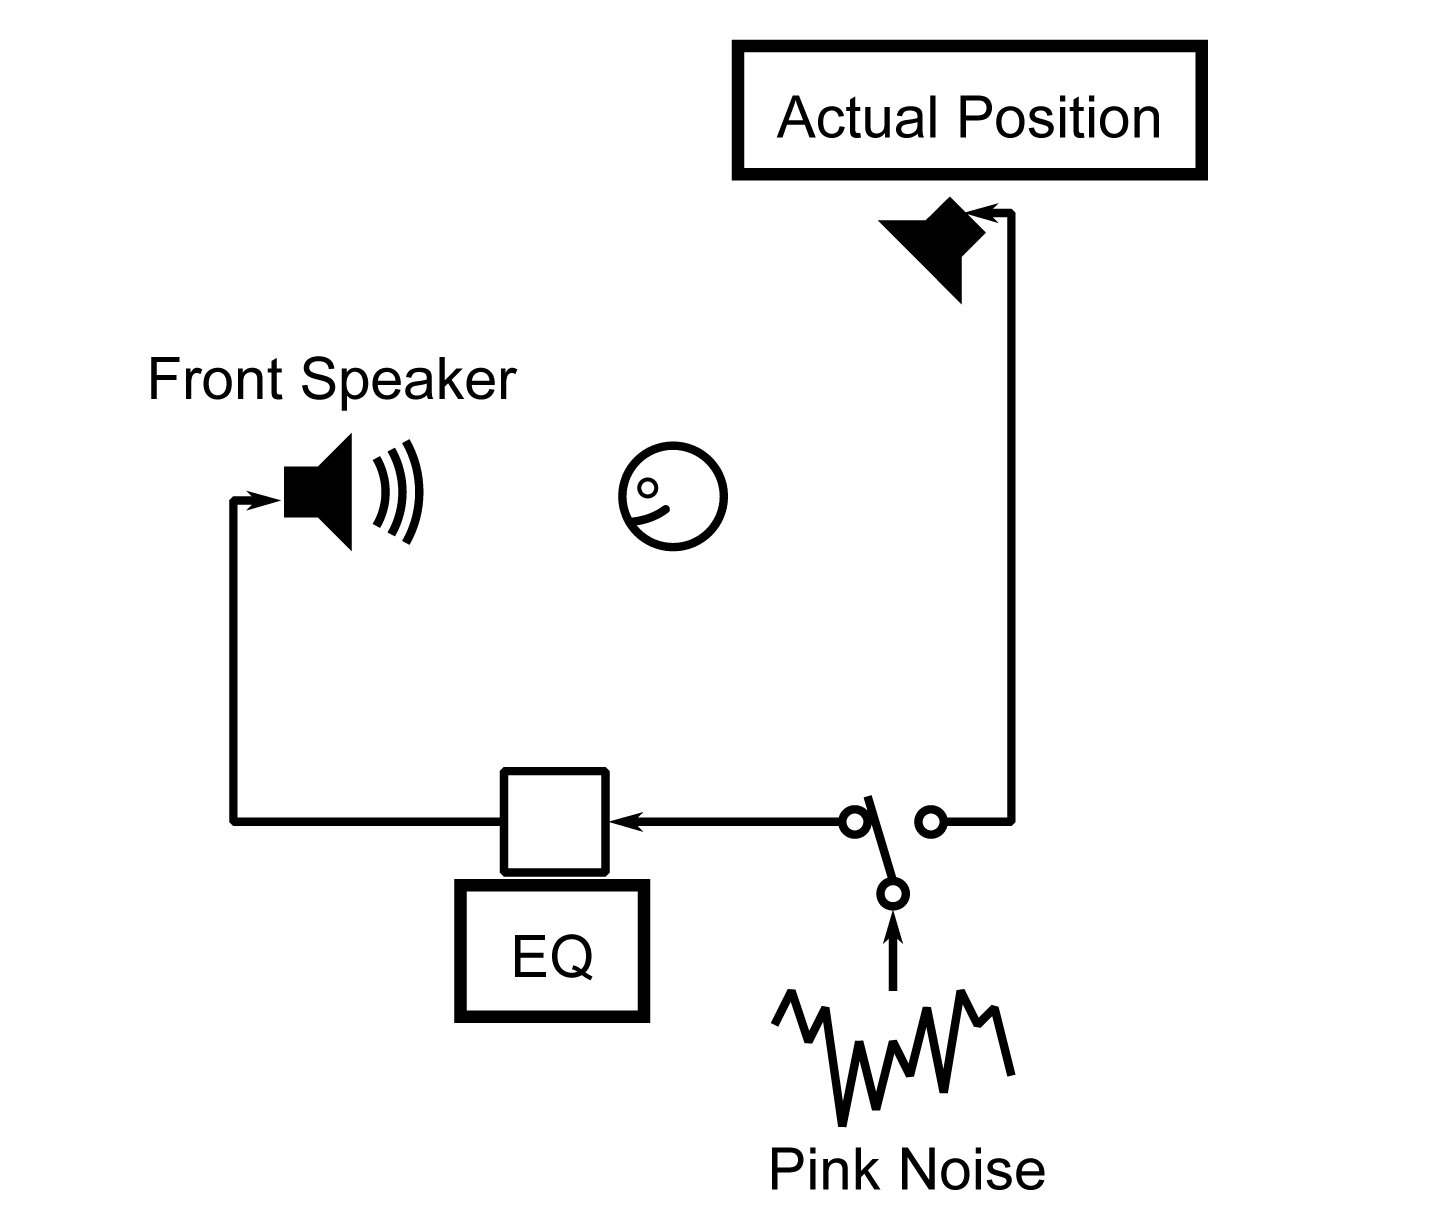
Next, let’s look at the design of this DSP, and how we adjusted the coefficients. They represent the effect’s characteristics quite well.
 Subjective EQ
As you can see in this diagram, one speaker is always in front of the player character, while the other can be placed in any direction. Pink noise is played in turn from the two speakers, and EQ is applied to the front speaker.
Later, we listened and compared the pink noise from the two, and adjusted the EQ until we felt that subjectively, the two sounded the same. This was done for all directions, and we took note of the EQ parameters for each direction so that we could design effects based on these parameters.
This approach of relying on our own acoustic aesthetics to make adjustments allowed us to create changes that are different from HRTF factors, and are easier for players to appreciate.
2. Interactive reverb
The second point of our spatial acoustic design is about interactive reverb.
The raycast system
We started out by trying to create a system that can automatically recognize the surrounding geometry to generate the appropriate reverberation, but the intent was to have, at some point in the future, all the parameters evolve constantly based on other conditions too. We wanted to take advantage of the interactivity unique to games, and if we were going to have an automated system, we wanted to achieve something that was too complicated to do manually. The goal was to integrate geological material data and other factors and recreate the reflection intensity,
time, and sound quality based on the direction from the listener, and respond in real time to the changing landscape.
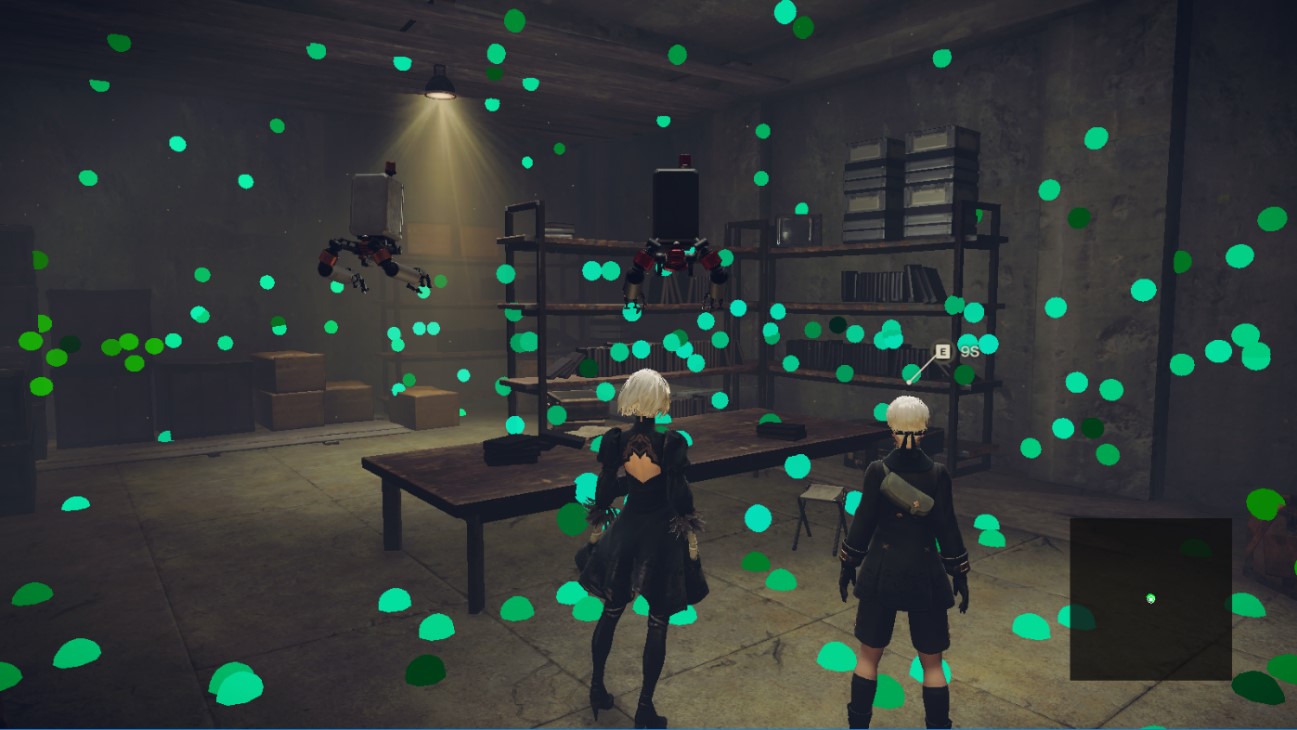
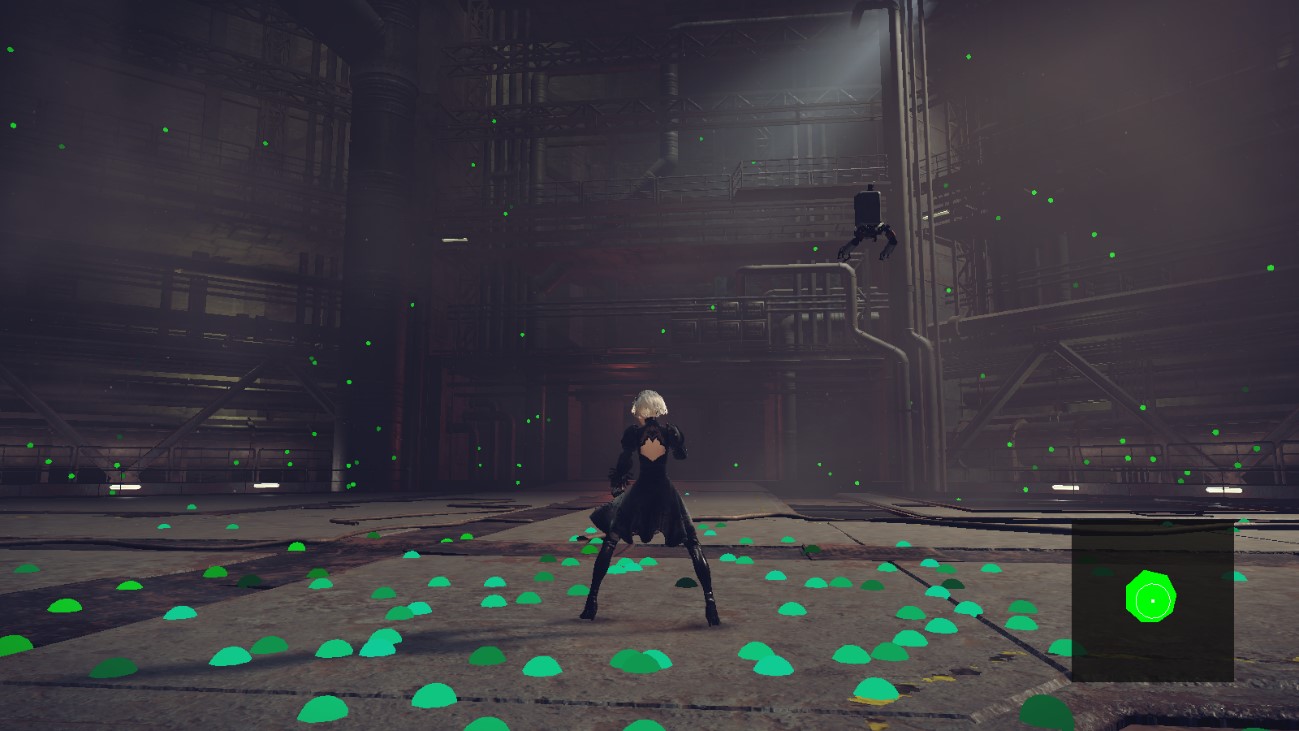
We chose the raycast method to determine the geometry. For each frame, several rays are cast in random directions, and we recorded the impact points and gave them a limited lifespan. Based on the impact point clusters and the player’s position, we calculated the distance, reflection strength, and filter intensity for each direction. The game operates at 60 frames per second, meaning that we cast 8 rays per frame, and 480 rays per second. The following two screenshots visually represent the raycast method, with impact points displayed in green. The first screenshot is in a small space, while the second is in a relatively large space, and you can see the difference between the two. The box on the lower right corner shows the size of the space.
K-verb Plug-in
The geometric information retrieved via raycast was used to set parameters and generate reverb, and we decided to design a new reverb plug-in to support this structure. Through trial and error, we realized that expressing reflections that have a strong presence, and that resonate in the space, is more persuasive than faithfully following the listener orientation, and in our sound design, we were quite determined to realize these details.
Simple3D Plug-in and raycast systems focus on delivering aesthetically pleasing sounds with interesting developments rather than conducting accurate simulations, and we were conscious of this not just in our effector plug-in, but in our sound design ideas. It was also important to keep the processing load small by using these plug-ins.
By the way, the name “K-verb” comes from the surname of co-author and audio programmer, Shuji Kohata, and it was a nickname used internally, but it sounded catchy, and Misaki Shindo, the other co-author who “christened” it with the name, liked it so much that it stuck.
Now, let’s look at what makes K-verb DSP so special.
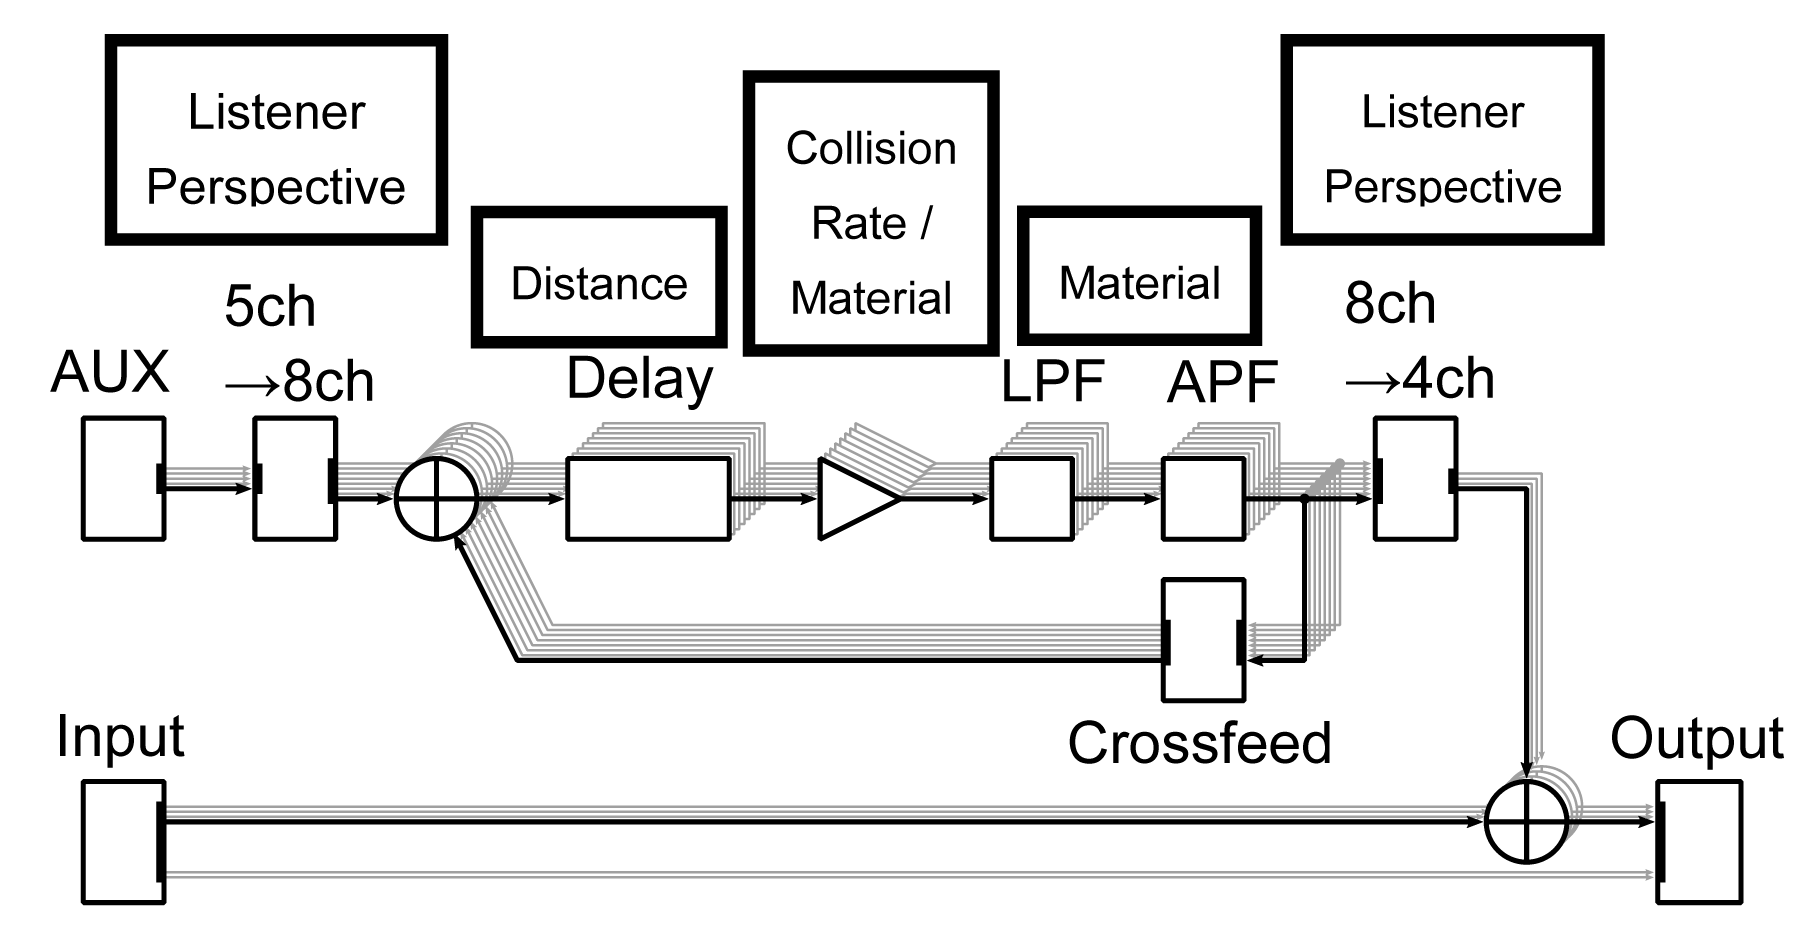 K-verb DSP Diagram
On the left, you see the input which is the dry component, and AUX, the mix for the wet component. The AUX is 5 channels for the listener, and it is remixed into 8 channels, for each of the eight angles on the absolute horizontal plane around the listener.
The loop in the middle is the reverb itself, and the delay duration, the level, and the filter intensity are based on the parameters calculated from the impact points of the different directions. This alone accentuates the delay too much, so reverbs are generated through an all-pass filter and crossfeeds from each direction. Next, the resulting reverb sound is turned back into four channels for the listener, and mixed into the main output.
Stay tuned for Part 2 of this blog.
 Misaki Shindo
After playing in an indies band and working at a musical instrument shop, Misaki joined PlatinumGames in 2008 as a sound designer. In the latest game, NieR:Automata, she was the lead sound designer in charge of sound effect creation, Wwise implementation, and building the sound effect system.
 Shuji Kohata
Shuji worked in an electronic instrument development firm before joining PlatinumGames in 2013. As the audio programmer, he oversees the technical aspects of acoustic effects. In NieR:Automata, he was in charge of system maintenance and audio effect implementation. Shuji’s objective is to research ways to express new sounds and utilize those results in future games, and he is continuously working to refine game audio technologies.